
マインクラフト ゲーム開発
* 要件の中には、検証してみないとできるかわからない要件も含む
設計
機能要件
- 体力や空腹ゲージは最大化されること
- 前提条件を合わせるため
- 前提条件を合わせるため
- 一定のエリア内でしか敵は発生しないこと
- エリア外で発生しても倒せない
- 敵の種類はランダムであること
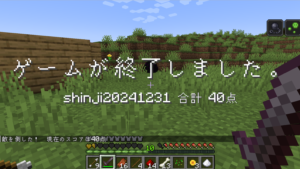
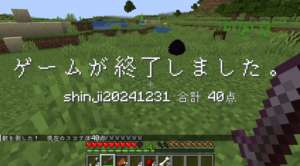
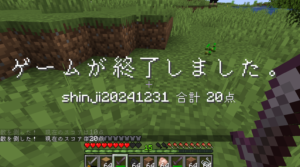
- スコア(合計点数)ボードが表示できること
- 画面上にバーンと出るようにする
- スコアボードにするなど
- 時間制限を設定できること
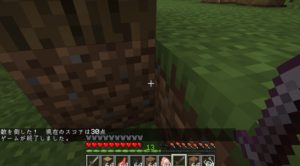
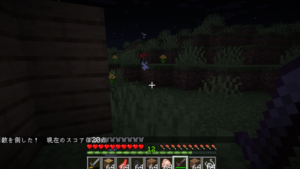
- 敵を倒すと点数が手に入ること
- 敵の種類によって手に入る点数が異なること
- ゲーム性を高めるため
- ゲーム性をしてどうあるべきか
- 時間制限が来たらエリア内の敵は消滅すること
- 終わったことをはっきりさせるため
- 終わったことをはっきりさせるため
- 時間制限が来たら合計の点数が保存されること
- できればデータベースなんかに保存して取り出せるようにしておきたい
- できればデータベースなんかに保存して取り出せるようにしておきたい
- 保存する情報はスコアとプレイヤー名と日時
- 新しい情報が入った場合は上書きではなく、すべて保存すること
- 追加されていく
- 追加されていく
- 装備や武器はプレイするたびにおなじになること
- 今の装備を取得して保存しといて、ゲームが始まったら指定の装備にして、終わったらもとの装備に戻す等)
- 今の装備を取得して保存しといて、ゲームが始まったら指定の装備にして、終わったらもとの装備に戻す等)
非機能要件
- コマンドでゲームを開始できる
- コマンドでできる方が簡単だから
- コマンドでできる方が簡単だから
- ゲーム中のエリア内のブロックは何があっても破壊されない
- ゲームモードの変更をしなくてもプラグインで制御できればというもの
- ゲームモードの変更をしなくてもプラグインで制御できればというもの
- ゲーム中のオプションでプレイヤーの強さ、敵の種類をある程度コントロールできる
- 敵の出現数が一定数を超えたときにゲームが重たくならないようにする。
- マシンのスペックは人によって違うので考慮する
- 敵の数を制御する
- 超えたら前に出現したものから消える
- プラグインを導入すればSpigotを使っていればどのサーバーでも導入できる
- プログラムへの変更を加えずに、時間やスコアの項目などの設定値をある程度変更できる
- お客さんはプログラムをいじることができない前提
- プログラムをいじるのではなく、プログラム内の設定などのできることのモードを作っておく
- 複数のプレイヤーが同時に実行しても動作すること
機能要件
- 体力や空腹ゲージは最大化されること
- コマンドを実行したら、体力と空腹値に20を設定する
- コマンドを実行したら、体力と空腹値に20を設定する
- 敵を倒すと点数が手に入ること
EntityのSpawnの仕組みを使って敵を出現させる
Entityが倒れたときのイベントを使って、点数を設定する。
実装
時間制限の制限をしていないのでコマンドを実行しないと敵が出てこないので時間制限をいれる
前回の続き
package plugin.enemydown.command;

import org.bukkit.command.Command;
import org.bukkit.command.CommandExecutor;
import org.bukkit.command.CommandSender;
import org.bukkit.entity.Player;

public class EnemyDownCommand implements CommandExecutor {

  @Override
  public boolean onCommand(CommandSender sender, Command command, String label, String[] args) {
    if(sender instanceof Player player){
     player.setHealth(20);
     player.setFoodLevel(20);
    }
      return false;
  }
}
まずは、ワールド情報を取得する。
player.getWorld(); を入力
getWorldのところを右クリックして、「リッファルタリング」→「変数の導入」でそのままエンターで
変数として持っておく
World world = player.getWorld();次に
world.spawnEntity(new Location(world,10,10,10), EntityType.ZOMBIE);を入力するが、座標が固定されていては行けないので、「一定のエリア内」ということができるようにする
(プレイヤーの周囲という指定にできれば座用は関係なくなる。)
そこで、まず、自分のロケーションを取ってくる。
Location playerLocation = player.getLocation();を入力し
      World world = player.getWorld();
      Location playerLocation = player.getLocation();
      world.spawnEntity(new Location(world,10,10,10), EntityType.ZOMBIE);
となる。
ここでランダムを生成するということをする
ここで、「playerLocation」は、よく使いそうなので
      playerLocation.getX();
      playerLocation.getY();
      playerLocation.getZ();
として、変数を取っておく(取り方は、上記を参考にする)
      double x = playerLocation.getX();
      double y = playerLocation.getY();
      double z = playerLocation.getZ();
とする。
そして
world.spawnEntity(new Location(world,x,y,z), EntityType.ZOMBIE);この部分をこう変更するが、このままでは、ゾンビが重なって出現してしまうので、ランダムを導入する
int random = new SplittableRandom().nextInt(100);を入力
これは、0から9(10個)の値がランダムに入ってくる。
しかし、自分と同じ座標に重なって出てくると困るので
int random = new SplittableRandom().nextInt(10) + 1;こうする。
が、ここではマイナス値もできることを知るために
int random = new SplittableRandom().nextInt(20) - 10;とする。
そして
world.spawnEntity(new Location(world,(x+random),y,(z+random)), EntityType.ZOMBIE);この部分をこう変更する。
(y軸は空中なので、今回は定義しない)
ここで、これが動くか実証
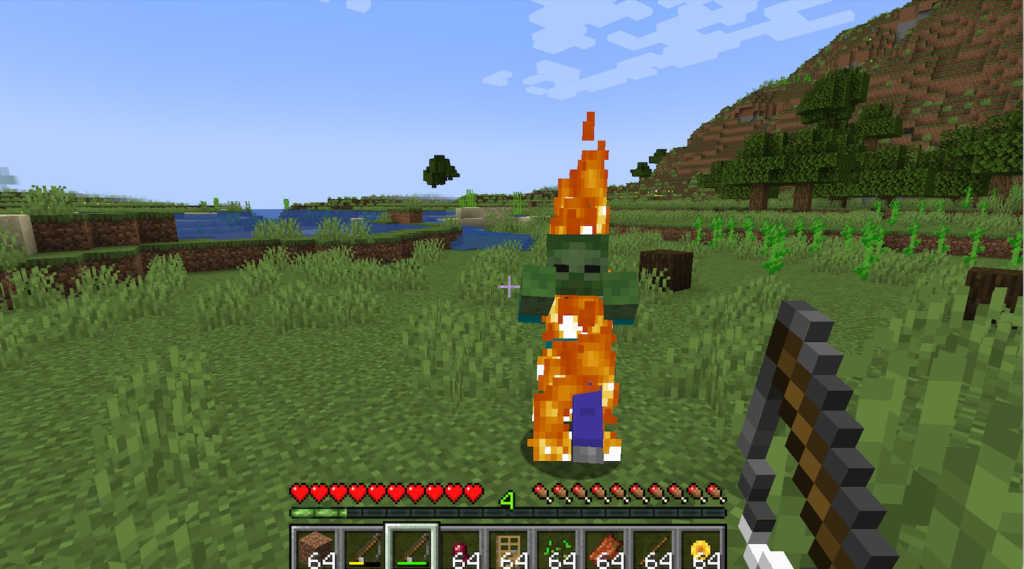
成功!!
ランダムはロケーション情報を設定するのにつかっているので切り出してしまう
「new Location(world,(x+random),y,(z+random))」の部分を全部指定して変数をとる。
Location enemySpawnlocation = new Location(world, (x + random), y, (z + random));と書き換える。
そして、ここでわかりやすい塊にするために
package plugin.enemydown.command;

import java.util.SplittableRandom;
import org.bukkit.Location;
import org.bukkit.World;
import org.bukkit.command.Command;
import org.bukkit.command.CommandExecutor;
import org.bukkit.command.CommandSender;
import org.bukkit.entity.EntityType;
import org.bukkit.entity.Player;

public class EnemyDownCommand implements CommandExecutor {

  @Override
  public boolean onCommand(CommandSender sender, Command command, String label, String[] args) {
    if(sender instanceof Player player){
      World world = player.getWorld();

     player.setHealth(20);
     player.setFoodLevel(20);

      Location playerLocation = player.getLocation();
      double x = playerLocation.getX();
      double y = playerLocation.getY();
      double z = playerLocation.getZ();
      int random = new SplittableRandom().nextInt(20) - 10;
      Location enemySpawnlocation = new Location(world, (x + random), y, (z + random));

      world.spawnEntity(enemySpawnlocation, EntityType.ZOMBIE);
    }
      return false;
  }
}
とする
ここで
      Location playerLocation = player.getLocation();
      double x = playerLocation.getX();
      double y = playerLocation.getY();
      double z = playerLocation.getZ();
      int random = new SplittableRandom().nextInt(20) - 10;
      Location enemySpawnlocation = new Location(world, (x + random), y, (z + random));
は、敵が出現するエリアを判定するロジックとなっている。
そこで、ここを「リファクタリング」→「メソッド抽出」
Location enemySpawnlocation = getEnemySpawnlocation(player, world);を生成しておく
  private static Location getEnemySpawnlocation(Player player, World world) {
    Location playerLocation = player.getLocation();
    double x = playerLocation.getX();
    double y = playerLocation.getY();
    double z = playerLocation.getZ();
    int random = new SplittableRandom().nextInt(20) - 10;
    Location enemySpawnlocation = new Location(world, (x + random), y, (z + random));
    return enemySpawnlocation;
これが下に生成される。
しかし、「static」いらないのでけして
  private Location getEnemySpawnlocation(Player player, World world) {
    Location playerLocation = player.getLocation();
    double x = playerLocation.getX();
    double y = playerLocation.getY();
    double z = playerLocation.getZ();
    int random = new SplittableRandom().nextInt(20) - 10;
    Location enemySpawnlocation = new Location(world, (x + random), y, (z + random));
    return enemySpawnlocation;
となります。
こうすることによりメインのコードが単純にわかりやすくなる。
そうすると
「world.spawnEntity(enemySpawnlocation, EntityType.ZOMBIE);」の部分が要らなくなるので、「インライン化する」
「enemySpawnlocation」の部分にカーソルをあて「リファクタリング」→「変数のインライン化」で
world.spawnEntity(getEnemySpawnlocation(player, world), EntityType.ZOMBIE);上と合わさった感じでこうなります。
(中でメソッドを読んでいる感じになる。)
ここで
int randomX= new SplittableRandom().nextInt(20) - 10;の部分を上に持っていき
中の部分を
    double x = playerLocation.getX()+random;
    double y = playerLocation.getY();
    double z = playerLocation.getZ()+random;
に変更
そして、ここで分けて管理するために
int random = new SplittableRandom().nextInt(20) - 10;の部分の「random」の部分にかーしるをあて、「リファクタリング」→「名前の変更」で
「randomX」とする
そうすると全部「X」になってしまうのでもう一個作って「Z」にする。
そして下の
double z = playerLocation.getZ()+random;の部分を「randomZ」に変えて
これで、ちゃんとしたランダムとなる。
  private Location getEnemySpawnlocation(Player player, World world) {
    Location playerLocation = player.getLocation();
    int randomX= new SplittableRandom().nextInt(20) - 10;
    int randomZ= new SplittableRandom().nextInt(20) - 10;
    double x = playerLocation.getX()+randomX;
    double y = playerLocation.getY();
    double z = playerLocation.getZ()+randomZ;
    Location enemySpawnlocation = new Location(world, x, y, z);
    return enemySpawnlocation;
  }
とする
そして
一番下の「enemySpawnlocation 」はいらないので、カーソルをあてて「インライン化」すると
  private Location getEnemySpawnlocation(Player player, World world) {
    Location playerLocation = player.getLocation();
    int randomX= new SplittableRandom().nextInt(20) - 10;
    int randomZ= new SplittableRandom().nextInt(20) - 10;

    double x = playerLocation.getX()+randomX;
    double y = playerLocation.getY();
    double z = playerLocation.getZ()+randomZ;

    return new Location(world, x, y, z);
  }
となります。
ここで色んなところをいじっていく
まず「world」の情報はフィールドにもっといてよいので
public class EnemyDownCommand implements CommandExecutorの下に
World world;を入力し
World world = player.getWorld();の部分を
world = player.getWorld();へと変更する。
しかし、複数のプレイヤーがいるときはバグってしまうので、ここでは、もとに戻す。
ここで
private Location getEnemySpawnlocation(Player player, World world) {の上に
「/**」を入力して、エンターでジャバドッグを作っておく
 /**
   *
   * @param player
   * @param world
   * @return
   */
が入力される。
この部分を
  /**
   *敵の出現場所を取得します。
   * 出現エリアはX軸とZ軸は、自分の一からプラス、ランダムで−10〜9の値がsettingされます。
   * y軸はプレイヤーと同じ位置になります。
   *
   * @param player コマンドを実行したプレイヤー
   * @param world コマンドを実行したプレヤーが所属するワールド。
   * @return 敵の出現場所
   */
こういう説明文にしておく
ここで、複数人のプレイヤーが参加したときも適用するかどうかを要件に加えるために
非機能要件に
「複数のプレイヤーが同時に実行しても動作すること」
ヲ追加
ここまでのところで
操作を確認したうえで、その動いたあとに動作の振る舞いを残したあとでコードの変更をすることを
「リファクタリング」という。
ここで「実証」
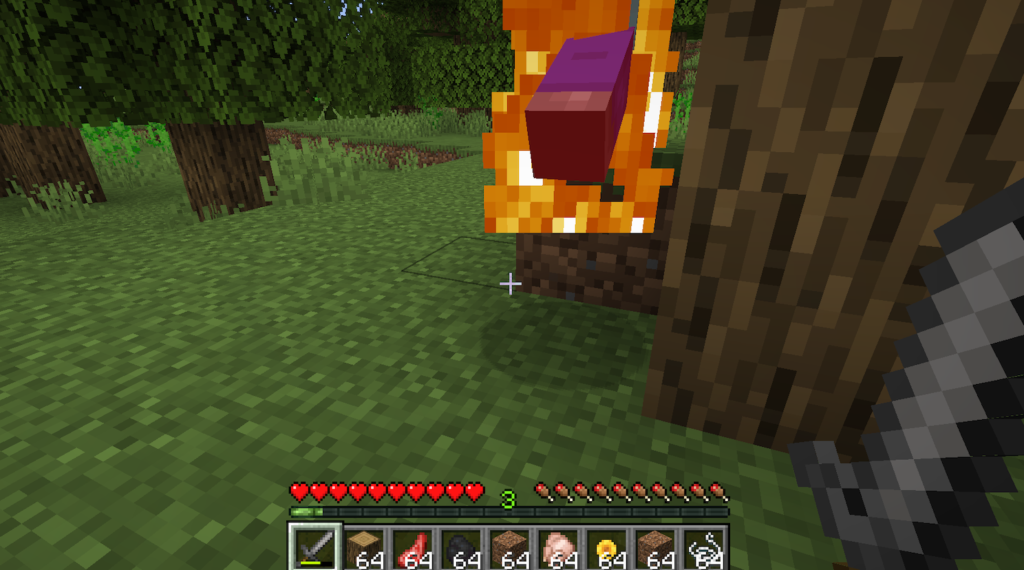
成功!!
次に敵の種類ををランダムにする。
まず、
player.setHealth(20);
player.setFoodLevel(20);
の下に
List<EntityType> enemyList = List.of(EntityType.ZOMBIE, EntityType.SKELETON);を入力
そして、その下に
enemyList.get();を入力し、
「()」の中身が「0」ならゾンビ「1」ならスケルトンとなるのでそれをランダムにする
そこでこれを
下で使っていた
int randomX= new SplittableRandom().nextInt(20) - 10;をコピーしてきておきかえて、変更していく。
int random= new SplittableRandom().nextInt(2);こうする。
(今回は0か1なので値が2になる)
そして下を書き換えて
world.spawnEntity(getEnemySpawnlocation(player, world), enemyList.get(random));とする。
ここで実証
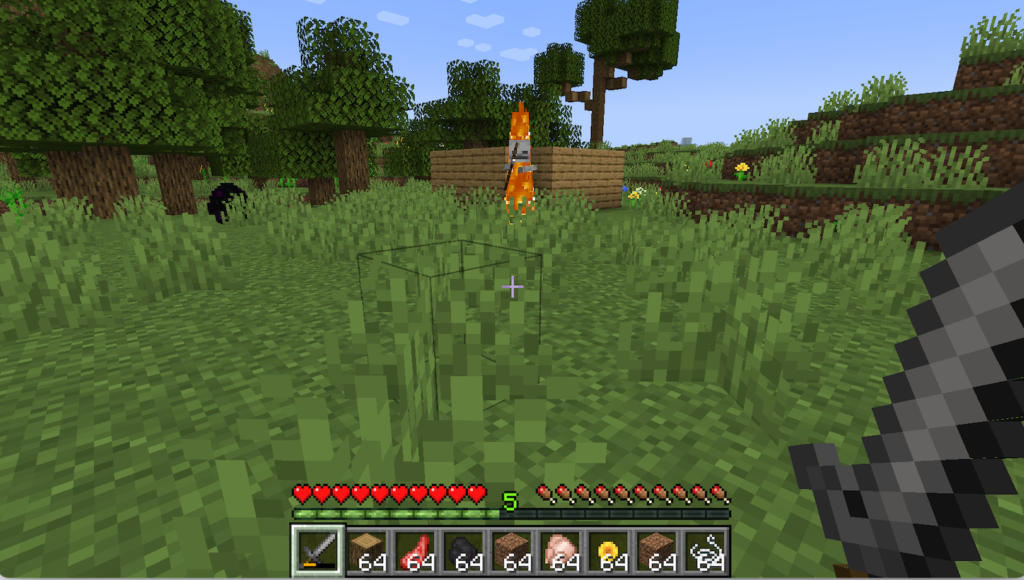
成功!!
ここで、メソッド抽出をするために
int random= new SplittableRandom().nextInt(2);の下に
enemyList.get(random);を追加し
EntityType enemy = enemyList.get(random);として、下の部分を
world.spawnEntity(getEnemySpawnlocation(player, world), enemy);こう変更するとメソッド抽出ができるようになるため、
 List<EntityType> enemyList =  List.of(EntityType.ZOMBIE, EntityType.SKELETON);
 int random= new SplittableRandom().nextInt(2);
 EntityType enemy = enemyList.get(random);
の部分を全部指定して右クリック「リファクタリング」→「メソッドの抽出」で
「getEnemy」を選択してエンター
すると
  private static EntityType getEnemy() {
    List<EntityType> enemyList =  List.of(EntityType.ZOMBIE, EntityType.SKELETON);
    int random= new SplittableRandom().nextInt(2);
    EntityType enemy = enemyList.get(random);
    return enemy;
  }
が抽出される
そして
「EntityType enemy = enemyList.get(random);」の部分は黄色い波線になるのでカーソルをあてて「インライン化」しておく。
そこで
このメソッドに対する解説を追加
  /**
   * ランダムで敵を抽出して、その結果の敵を取得します。
   * <p>
   * @return 敵
   */
そこで
return enemyList.get(random);の部分もインライン化して、右クリック「リファクタリング」→「インライン化」で
  private EntityType getEnemy() {
    List<EntityType> enemyList =  List.of(EntityType.ZOMBIE, EntityType.SKELETON);
    int random= new SplittableRandom().nextInt(2);
    return enemyList.get(random);
  }
こうしておく
そこで、上の部分の
EntityType enemy = getEnemy();が要らなくなるのでインライン化してしまう。
そこで
world.spawnEntity(getEnemySpawnlocation(player, world), enemy);の部分の「enemy」を右クリック「リファクタリング」→「インライン化」で
     player.setHealth(20);
     player.setFoodLevel(20);

      world.spawnEntity(getEnemySpawnlocation(player, world), getEnemy());
こうしておく
全体として
package plugin.enemydown.command;

import java.util.List;
import java.util.SplittableRandom;
import org.bukkit.Location;
import org.bukkit.World;
import org.bukkit.command.Command;
import org.bukkit.command.CommandExecutor;
import org.bukkit.command.CommandSender;
import org.bukkit.entity.EntityType;
import org.bukkit.entity.Player;

public class EnemyDownCommand implements CommandExecutor {

  @Override
  public boolean onCommand(CommandSender sender, Command command, String label, String[] args) {
    if(sender instanceof Player player){
      World world = player.getWorld();

     player.setHealth(20);
     player.setFoodLevel(20);

      world.spawnEntity(getEnemySpawnlocation(player, world), getEnemy());
    }
      return false;
  }

  /**
   *敵の出現場所を取得します。
   * 出現エリアはX軸とZ軸は、自分の一からプラス、ランダムで−10〜9の値がsettingされます。
   * y軸はプレイヤーと同じ位置になります。
   *
   * @param player コマンドを実行したプレイヤー
   * @param world コマンドを実行したプレヤーが所属するワールド。
   * @return 敵の出現場所
   */

  private Location getEnemySpawnlocation(Player player, World world) {
    Location playerLocation = player.getLocation();
    int randomX= new SplittableRandom().nextInt(20) - 10;
    int randomZ= new SplittableRandom().nextInt(20) - 10;

    double x = playerLocation.getX()+randomX;
    double y = playerLocation.getY();
    double z = playerLocation.getZ()+randomZ;

    return new Location(world, x, y, z);
  }

  /**
   * ランダムで敵を抽出して、その結果の敵を取得します。
   * <p>
   * @return 敵
   */
  private EntityType getEnemy() {
    List<EntityType> enemyList =  List.of(EntityType.ZOMBIE, EntityType.SKELETON);
    int random= new SplittableRandom().nextInt(2);
    return enemyList.get(random);
  }
}
こうなります。
ここで実証
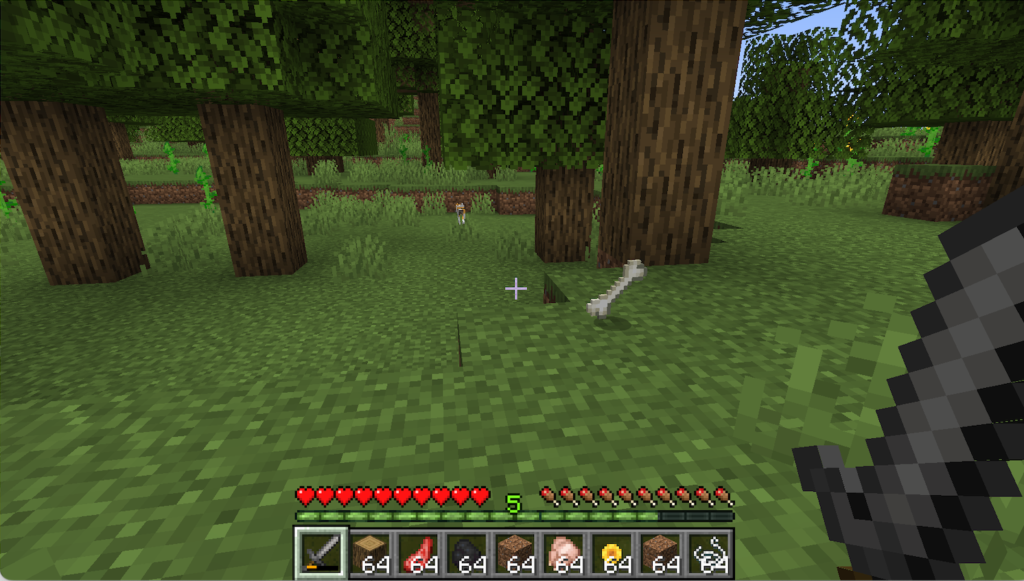

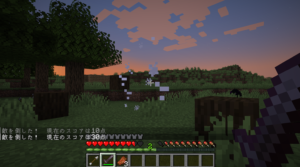
ここでランダムなentityを五個ほどに増やして実証してみました。
成功!!!

コメント